After swearing off plastic hoops for what seems like the last half-decade due to a series of unfortunate events, I feel like those dark memories are sufficiently purged to allow for yet another foray into experimentation.
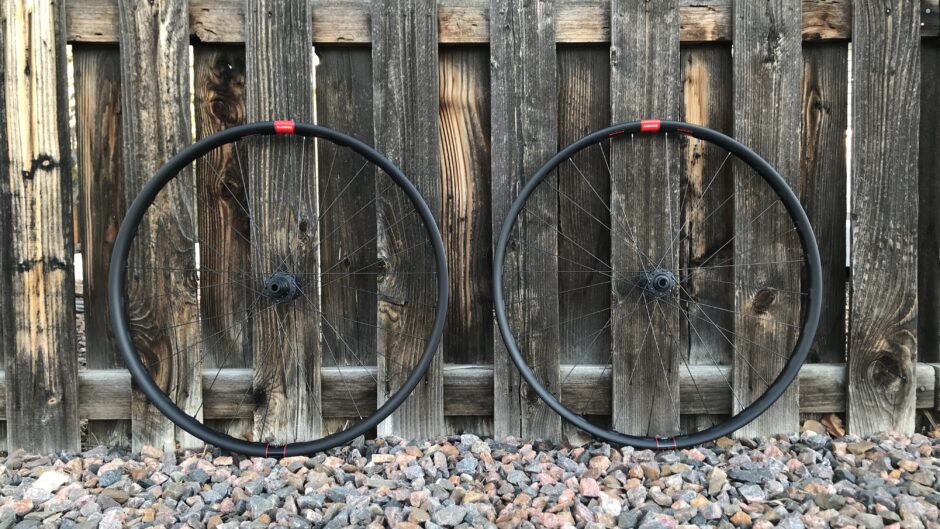
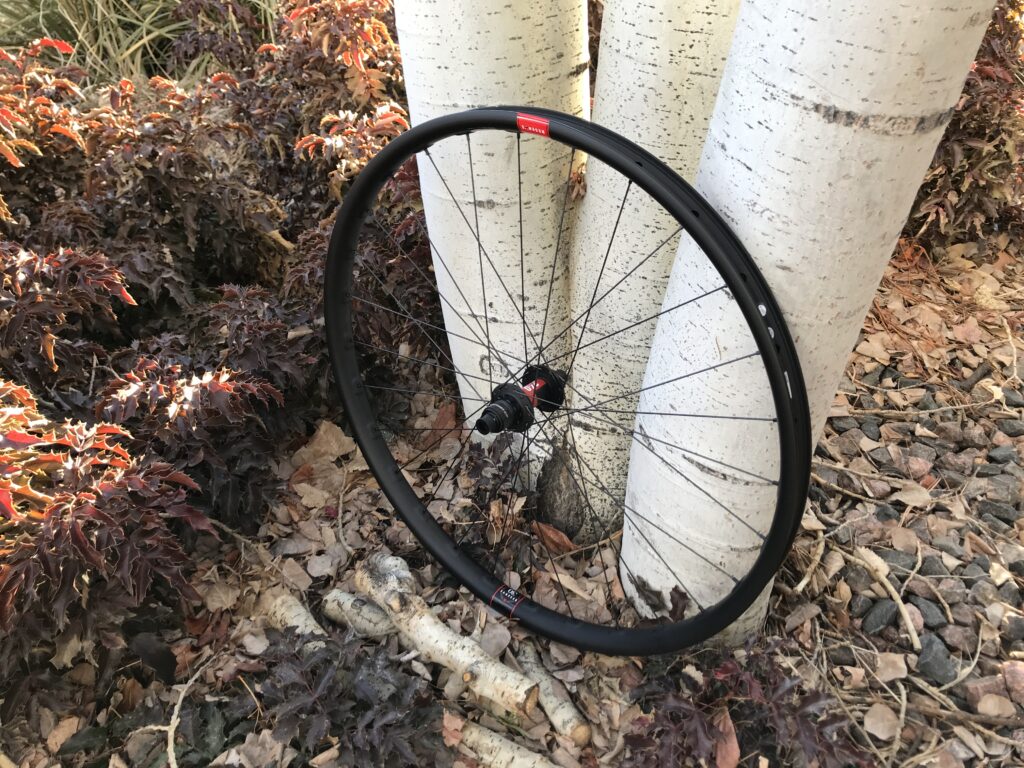
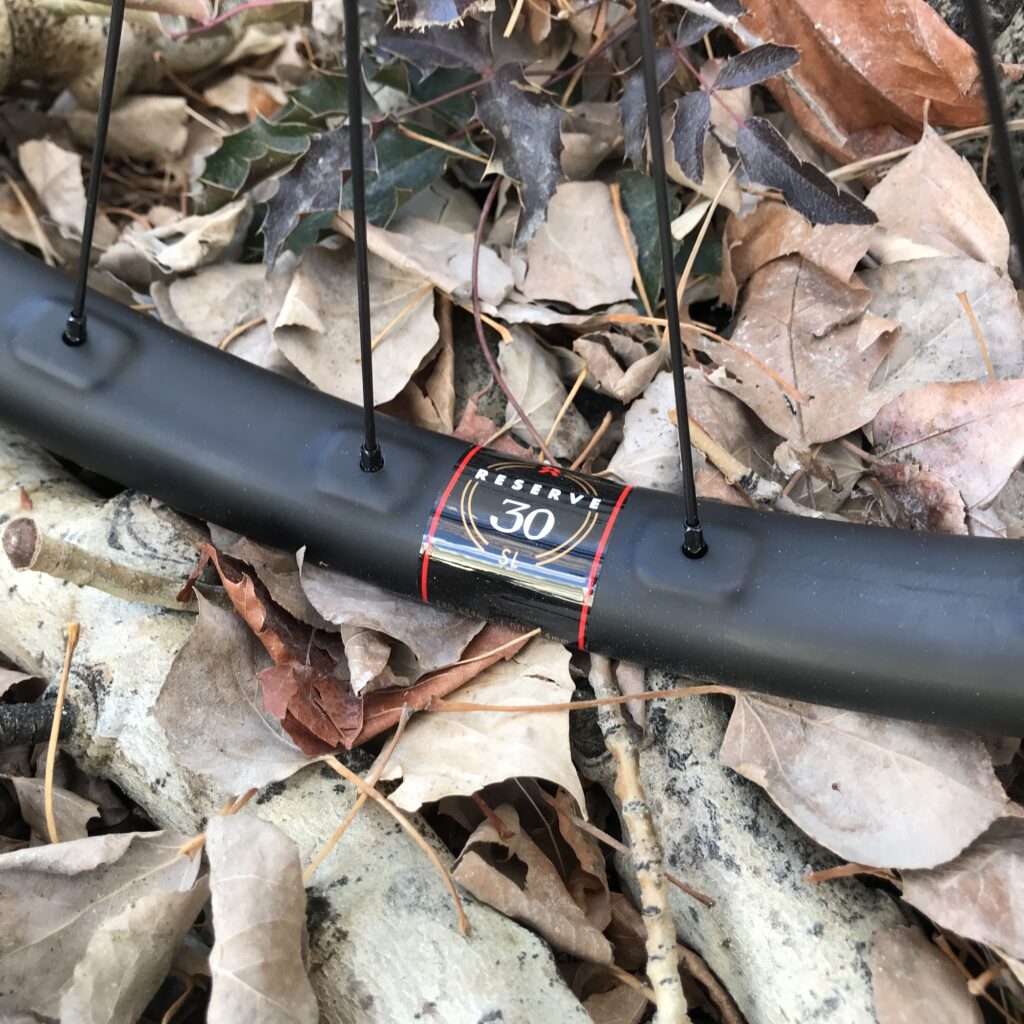
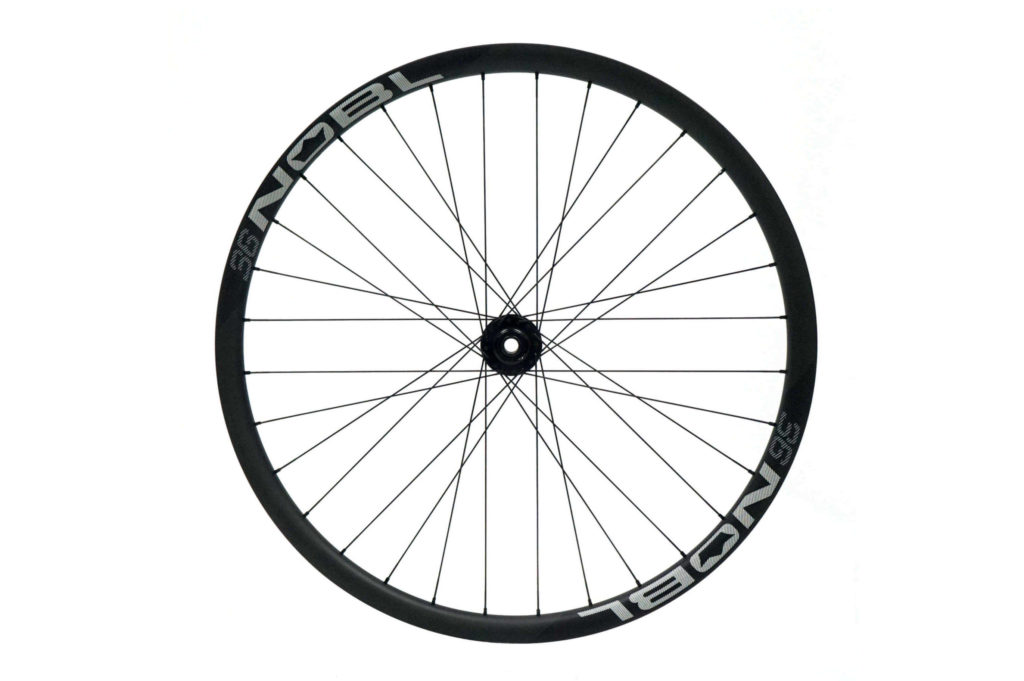
The latest dream build sports a Reserve 30 SL rim up front and the 30 HD variety out back. Both laced to DT’s new EXP 240 hubs. Although there was some hesitation on hub choice based on circulating rumors of the revised ratchet mechanism being failure-prone, we figured why not go full send? This particular wheelset is destined for light-to-medium trail duties, most likely being swapped for something more appropriate once park and alpine season come round.
Why mix and match the SL and HD rims you might ask? Why not? When was the last time you damaged your front rim?… Well I am sure this won’t end that way. The theory here is that a more radially compliant front rim should provide a better ride quality while offsetting some of the weight of the seemingly now-mandatory dual foam pool-noodle insert setup.
Reserve DT240 EXP Build
SL front, HD back.
Once we have some more time running this setup, we will let you know if the theory holds any air.
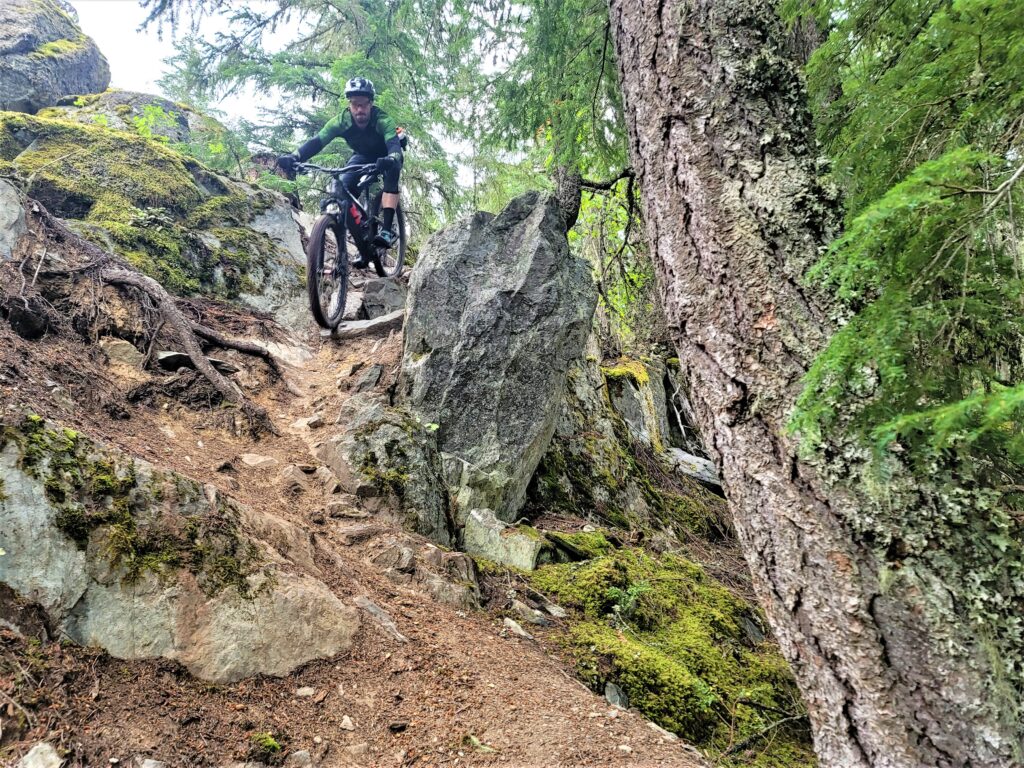
Learning new skills in mountain biking can be both exhilarating and daunting. On one hand, you have the opportunity to push your limits and experience new levels of achievement. On the other hand, there are risks involved when pushing yourself beyond what you’re comfortable with. That’s why understanding the relationship between risk and reward is crucial in the sport of mountain biking.
In mountain biking, there are several skills that can be considered “risky” when learning. For example, jumping is a skill that requires a lot of practice and can be dangerous if not done correctly. However, the reward of successfully landing a jump can be a huge confidence booster and can open up a whole new world of trail riding. That’s why it’s important to approach these skills with caution and seek out proper instruction before attempting them.
Another aspect of risk and reward in mountain biking is the concept of “sending it.” This term is often used to describe the act of taking a jump or drop with as much speed and air as possible. While this can be incredibly thrilling, it also comes with a higher level of risk. In an article on Pinkbike, professional mountain biker, Ryan Howard, shares his thoughts on “sending it” saying, “I think it’s important to always be pushing yourself and trying to progress, but at the same time, you need to have a healthy respect for the consequences of your actions.”
As you can see, risk and reward are closely intertwined in the world of mountain biking. It’s important to recognize that pushing your limits and learning new skills can be a positive thing, but it’s also crucial to approach these challenges with caution and respect for the potential dangers. In an article on NSMB, writer and rider, David Peacock, sums it up nicely by saying, “Riding at the edge of our abilities is where progress happens, but it’s also where we must be most careful.” So, remember to have fun, but always prioritize safety and seek out proper instruction when trying new things on your bike. – Guest editor
A note from the FRWW: Thanks for that somewhat cogent reminder to hedge risk and maximize reward while remaining safe out on the trails MtbGPT! Even if you did make up half of the details to support your point.
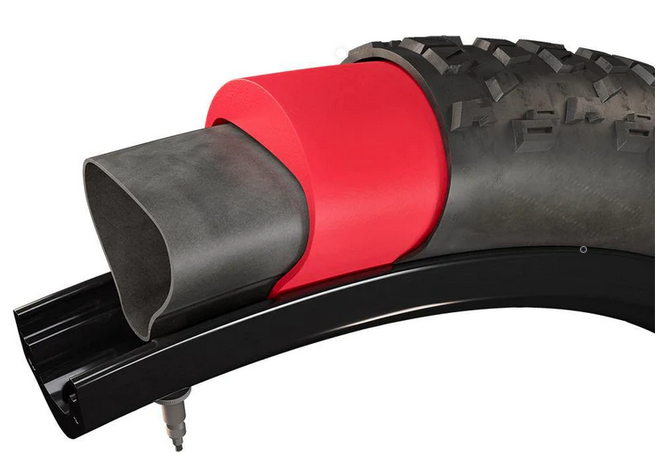
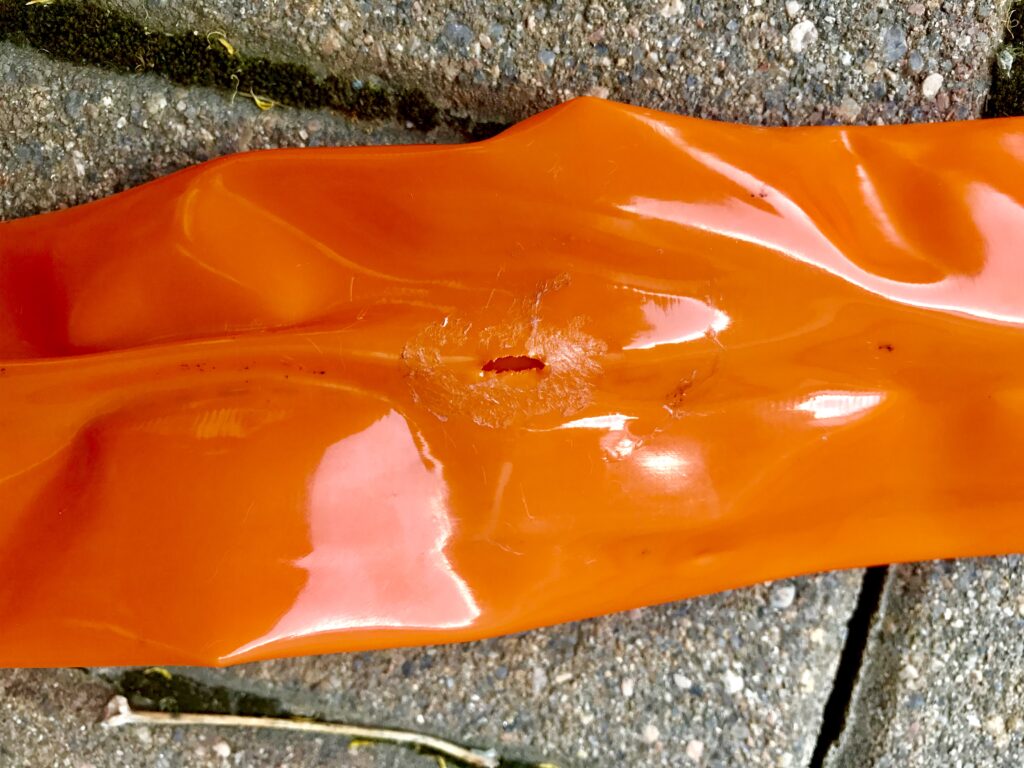
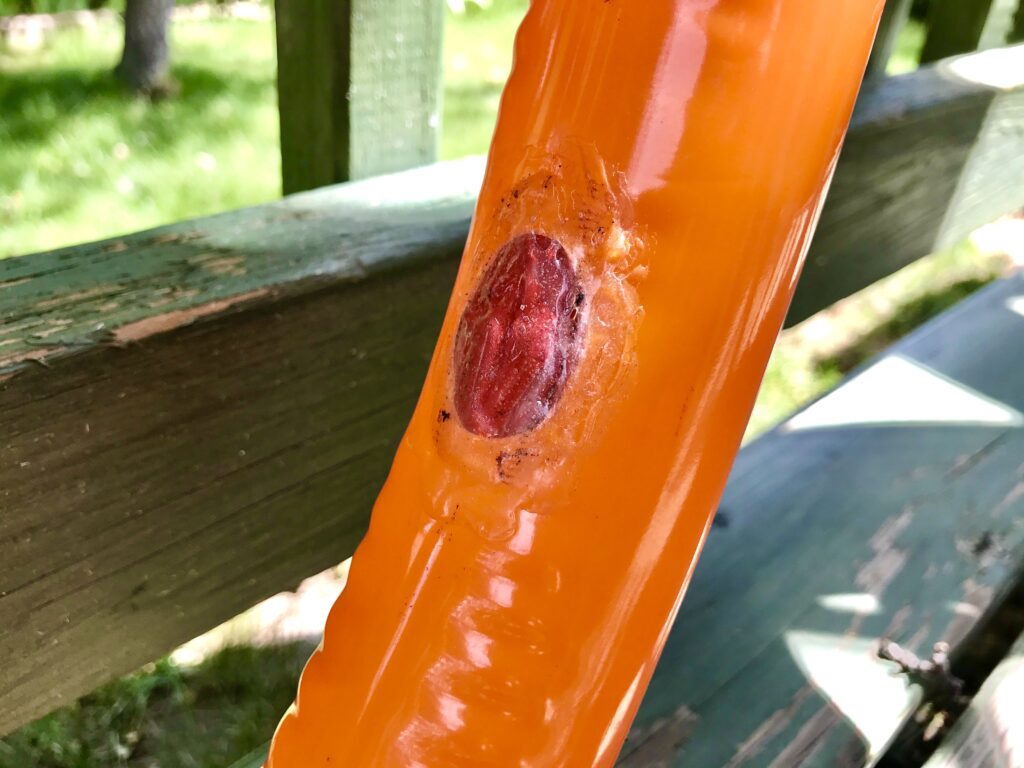
In this edition of “Things not to buy” we are show casing the Tannus Armour Insert. Not only is “Armor” misspelled, but the execution and core concept is critically flawed.
The pre-emptive TLDR:
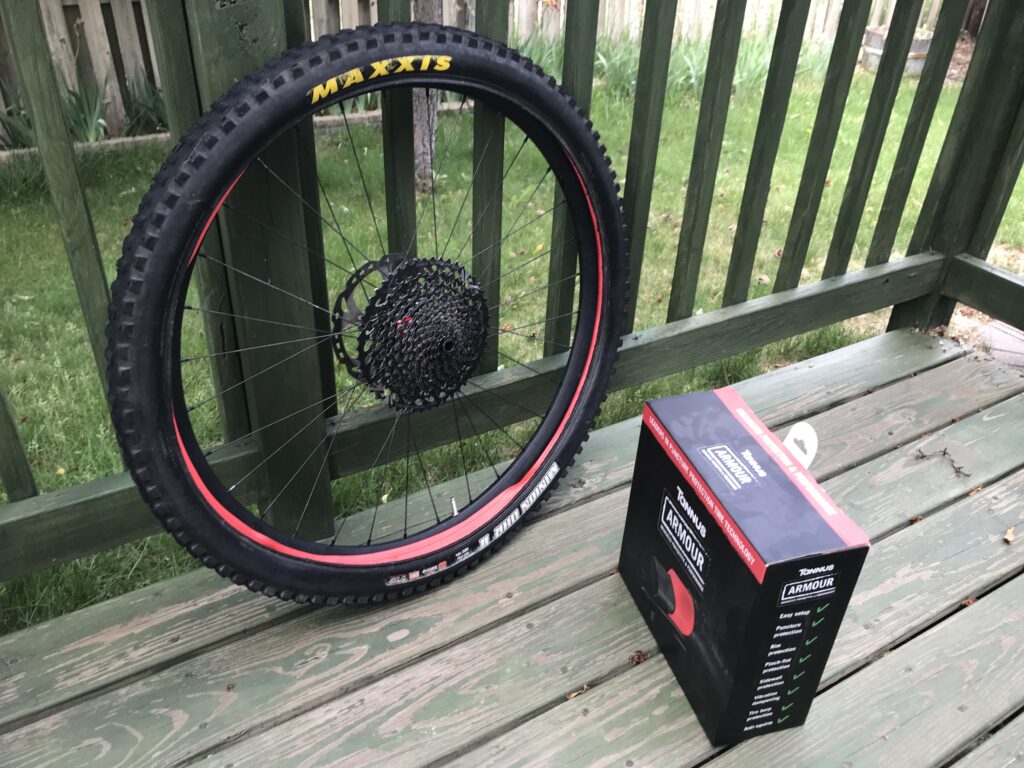
Unless you pine for the days of replacing flat tubes, Tannus Armour is not for you. Initial impressions were positive, the product did indeed appear to protect a tube from those nasty snake-bite punctures that plague tubed setups. However, this only lasts for so long.
Eventually the tube will compress the insert to a point were it becomes more or less ineffective… and then you will puncture the tube. It is only a matter of time. In the end, it is probably more effective to just run a DH tire and higher pressures if you really must hold on to your tubes. I wish you the best of luck.
The Full Story
Here’s the pitch: Wouldn’t it be great if we didn’t have to mess with that whole tubeless setup nonsense? Air compressors, sealant, and copious amounts of cursing. Since we are filling our tires with foam anyways, why don’t we just wrap that foam around a tube? Brilliant!!!
With a sufficient buffer between the tube and tire casing we can theoretically (very theoretically…) eliminate pinch flats all-together. And pinch flats are the primary cause of pre-mature tube deaths. Indeed, if we add enough foam, even thorns and possibly nails shant possibly penetrate all the way to our supple and vulnerable rubber tire bladders.
Go on, you say? Well similar to running a tire insert in your tubeless setup, you gain additional damping and chatter-reduction. You even might be able to run lower pressures. That sounds great! We might never have to deal with Stan’s white-liquid hate ever again!
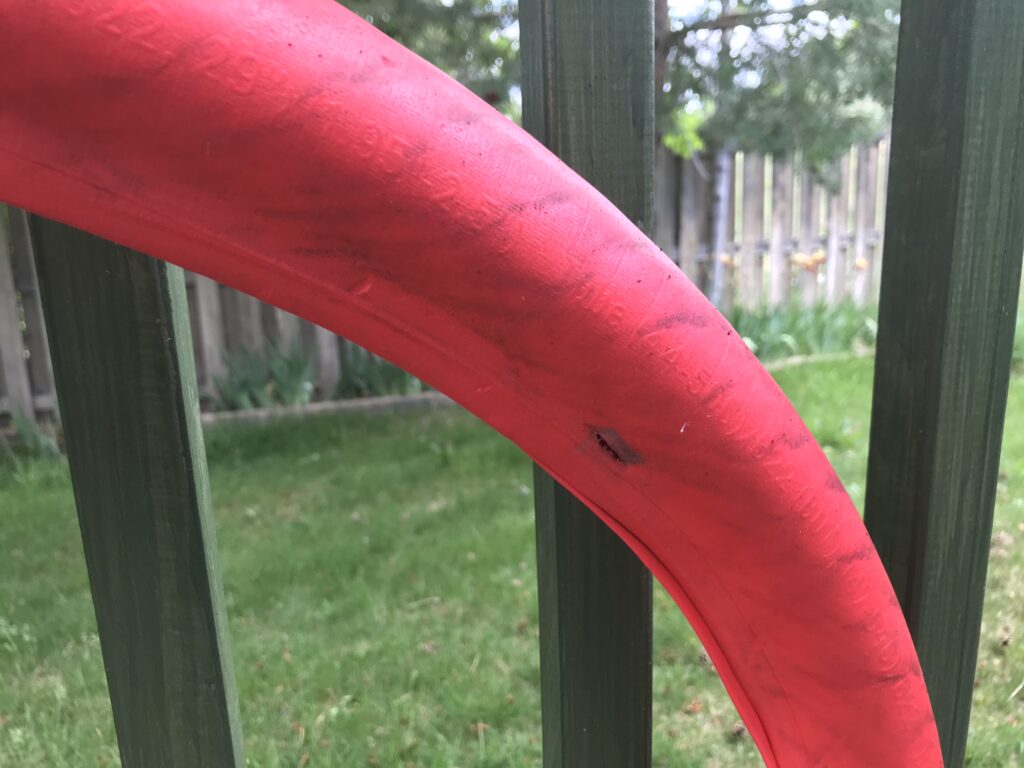
The thing that the engineers over at Tannus might have missed is that when pressure is applied to air-filled foam cells, they tend to compress. Regardless of the density, this effect translates to your foam pool noodle becoming a foam spaghetti-noodle… or is it more rigatoni?… either way your foam no longer has that cushioning property required to keep your suspect theory afloat. And one, or possibly multiple rides will end in sadness.
Do yourself a favor and don’t buy this half-assed attempt to re-live the tubed glory days. Tubeless is here to stay and we all should just accept it.
This tube insert worked, until it didn’t.
This experience is based on our extensive hands-on testing (a sample size of 2 — myself and one curious and somewhat unfortunate riding buddy) over the course of a season that included endless local Front Range test laps (primary White Ranch) and several park days. This product had an effective life of just under half a season.
Read more about the Tannus Armour Insert (and possibly other products and inserts you probably shouldn’t buy) at Tannus’ website.
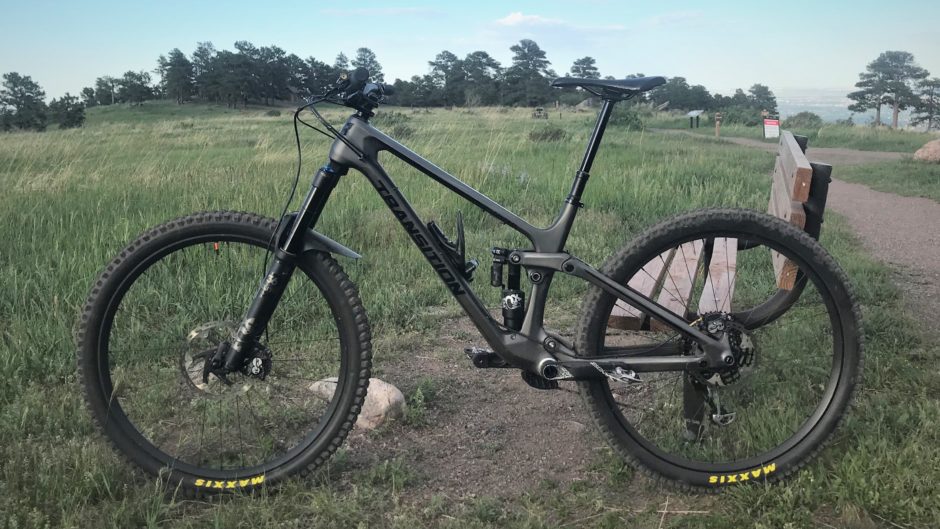
I know, its been a minute. But this review will be worth the wait, I promise. If you have read anything about the latest iteration of Transition’s Sentinel you probably won’t be shocked by the conclusion: this bike is good. Really good. There, review over. You’re welcome.
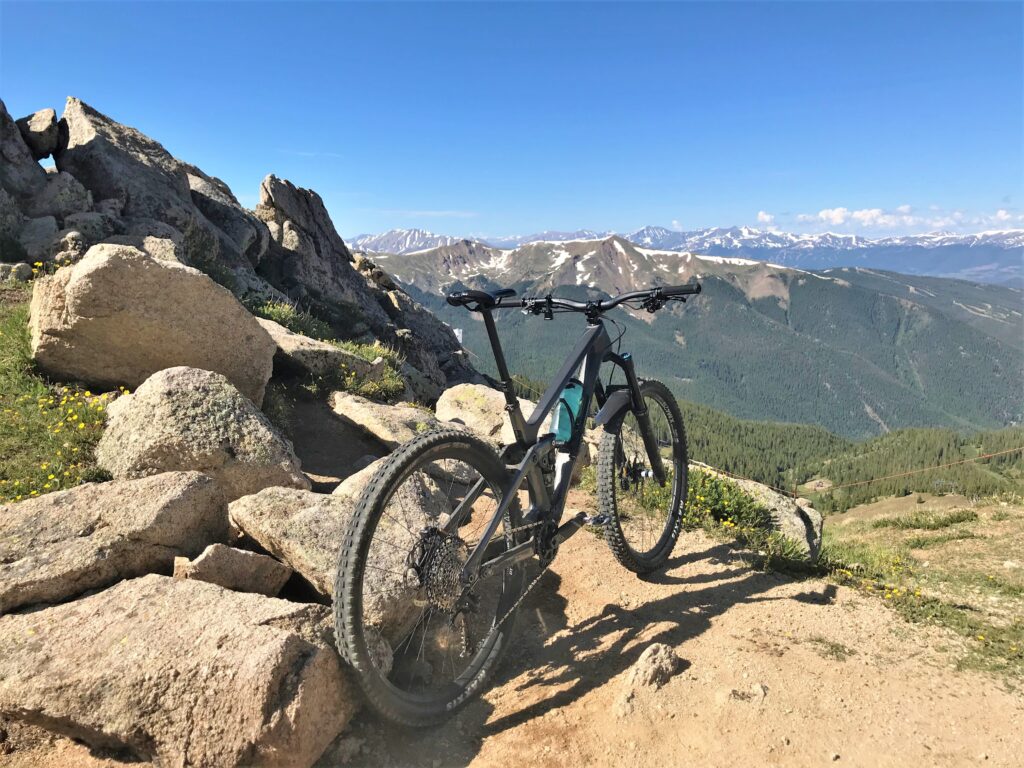
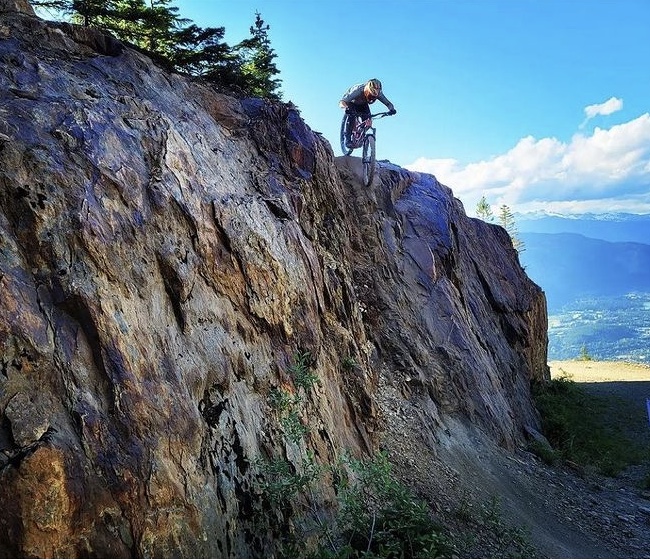
High alpine? Check. Bike Park? Check. Green Mountain? no sir.
Now that the TLDR is out of the way…
Way back in 2020, shortly after the release of the new sentinel it only took a few wondering glances at the new, sleek, sharp profile to pull out the credit card. Being an owner of a 2019 V1 Sentinel, I knew I would get along with bike quite alright. What I didn’t know was how much of a leap between the first iteration and this latest big-wheeled wonder I should expect.
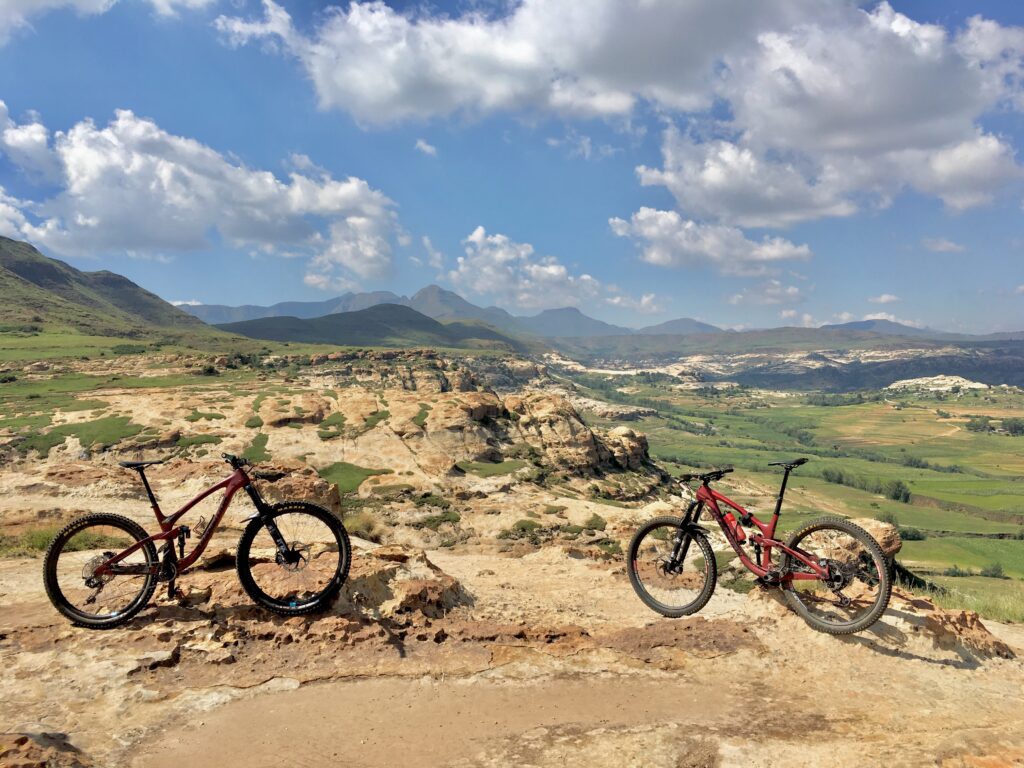
A pair of Curvy V1 Sentinels captured in the wilds of Lesotho prior to the Kingdom Enduro
Without going off on too much of a tangent, I found the 2019 Sentinel (GX build) to be wildly capable, if slightly flawed. With 160mm upfront and 140 out back supported by the spec’d Fox DPX2, I found the bike either to ride overly harsh at the speeds it could carry on even mildly rough tracks, or to wallow in its mid-stroke. Despite this flaw I loved that bike. It suited the winch-and-plummet style of riding that I had grown to love. True, it wasn’t the best bike for pedally XC-style rides that we have in generous quantities here on the Front Range, but it could be made to work in all but the flattest of trails.
If I was hoping for any changes between V1 and V2 it was in the suspension behavior. This might have been fixed with a different choice of shock, but I tend to run what manufacturers spec as far as shocks go instead of the old guess-and-check or word-of-mouth selection methodology. Needless to say, I was not disappointment once I had a chance to swing a leg over the V2 Sentinel.
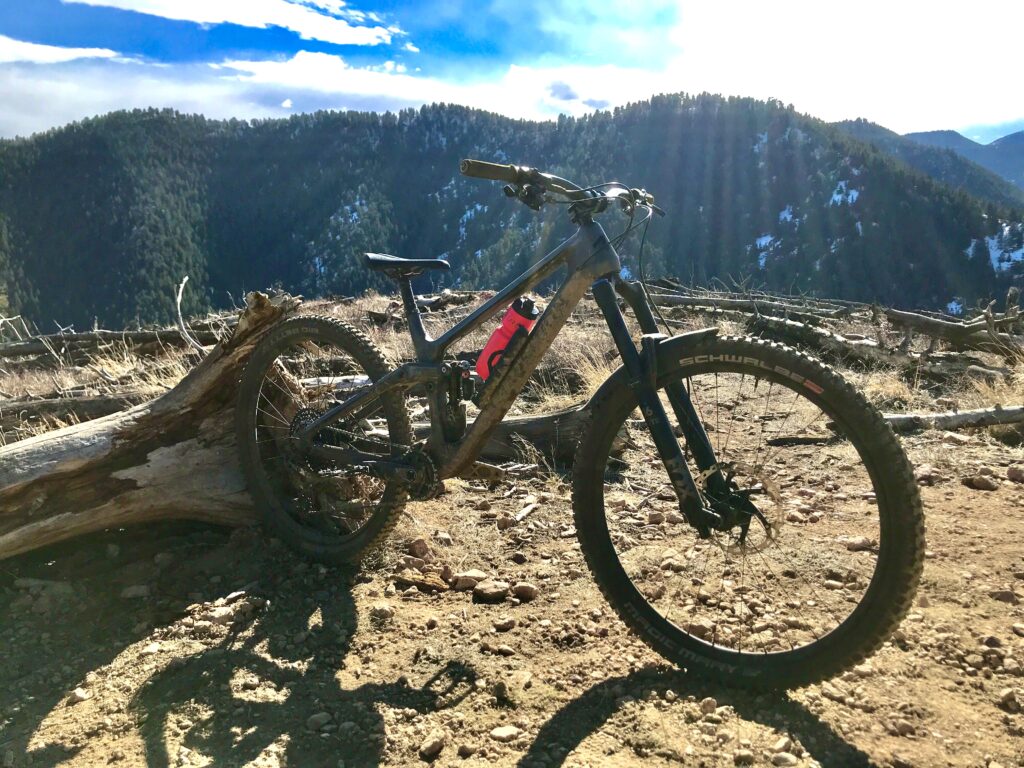
Colorado you say? That looks about right.
Not only was the latest version a looker, the mid-stroke wallowing that I had experienced with the DPX2 was nowhere to be found with the Float X2 that came spec’d on the X01 build 2020 Sentinel. Better yet, the progressive and supportive platform redefined what I thought a Horst-link layout was capable of. Minimal bob and a playful mannerism had me thinking I had finally found the one. After years of horse-trading bikes to get the latest and greatest, I wondered if anything could supplant the qualities that made this rig seem purpose built for me.
One full pandemic and nearly three seasons later I didn’t feel much different. To be honest, if it wasn’t for the allure of bigger and better (ahem, Spire) I would still be happily riding the same bike. Looking back, I can appreciate the supply shortages and general un-availability of new bikes for the fact that it forced the realization that the constant spin of “newer is better” doesn’t necessary equate to any further satisfaction or realized gain. Even if I gave in to the temptation for something new eventually.
Long-story mostly over, after three hard seasons I didn’t have to do much more than the occasional fork and air can service, tightening a bolt here and there, and just generally replace wear components as one would expect. A single non-drive side bearing extraction and swap and everything was still spinning as smooth as day one. Impressive.
Glory be thee. Left-hand laps abound on the dirt sabbath.
What does wheel building have to do with optimization and the AI revolution?
Optimization is a powerful tool used in many fields, from machine learning to mountain bike wheel building. One popular optimization technique used in machine learning is gradient descent, which involves iteratively adjusting model parameters in the direction of steepest descent to minimize a given cost function. But how does this relate to the tensioning of a bike wheel’s spokes?
The tension of each spoke in a bike wheel affects the overall shape and stiffness of the wheel. Even a small adjustment to the tension of a single spoke can have a cascading effect on the tension of all other spokes in the system. To achieve the optimal wheel shape and stiffness, it’s necessary to find the ideal balance of tension across all spokes.
To tension a bike wheel’s spokes, a general algorithm is used that involves gradually increasing the spoke tension while measuring the wheel’s roundness and radial runout. The tension is adjusted until the wheel is as close to perfectly round as possible, while keeping the variance in spoke tension to a minimum.
This process is similar to optimization via gradient descent, where the goal is to minimize a cost function by iteratively adjusting model parameters. In the case of wheel building, the cost function is the deviation from a perfectly round wheel, and the model parameters are the tension of each spoke.
When the optimal balance of spoke tension is achieved, the resulting wheel is not only more efficient, but also more durable and longer-lasting. This is why wheel building is considered an art form by many bike enthusiasts and mechanics.
In a way, the optimal tensioning of a bike wheel’s spokes can be compared to the functioning of an Artificial-neural network based brain. Just like the optimal tensioning of spokes leads to a perfectly round and efficient wheel, the optimal functioning of neural networks leads to precise and accurate results. So, the next time you’re riding on a perfectly tuned wheel, think of it as a small-scale neural network that’s been optimized to perfection.
– WittyWheelWizard
A note from FRWW: We appreciate your insight Wheel Wizard (formally known as the GPT of MTB) however you forgot to mention your own relation to our bespoked friends and how you fit into this picture. Either way, that was an interesting take.
Is the constant hype immoral or simply good marketing?
Mountain biking is a sport that’s known for being gear-centric. From bikes to protective gear, there are countless gadgets and accessories that are marketed towards riders. It’s no surprise that the mountain bike media and industry have a vested interest in promoting these products. But, at what point does this obsession with the latest and greatest gear become excessive?
If you take a look at mountain bike media, it’s easy to see that a large portion of content is focused on product reviews and gear guides. Websites like Pinkbike and Vital MTB regularly feature articles that highlight new bikes, components, and accessories. While these articles can be informative, they can also contribute to a culture of consumerism where riders feel the need to constantly upgrade their gear to keep up with the latest trends.
In an article on NSMB, writer and rider, Lacy Kemp, addresses this issue, saying, “The mountain bike industry is built on innovation, and there’s nothing wrong with that. But when we focus too much on the gear and not enough on the actual riding, we risk losing sight of what this sport is all about.”
Of course, having good gear is important in mountain biking. It can make the difference between a great ride and a bad one. However, it’s important to recognize that gear isn’t everything. As riders, we should prioritize the experience of being out on the trails and enjoying the ride, rather than constantly obsessing over the latest and greatest gear.
At the end of the day, it’s up to us as riders to decide what role gear plays in our mountain biking experience. While it’s important to have reliable equipment, we should remember that the sport is ultimately about having fun and exploring the great outdoors. So, the next time you’re tempted to buy that shiny new bike or upgrade your suspension, take a step back and ask yourself, “Will this really improve my ride experience?” And, if the answer is no, maybe it’s time to focus on something other than gear.
– GearHeadGoneWild
A note from FRWW: Thanks for your input GHGW (also known as MtbGpt). While we here at Front Range Wheel Works truly feel the internal conflict you communicated so whelmingly, we try to remain conscious of the environmental and social impact of our activities and moderate to the best of our abilities.
Over the last two seasons we have witnessed a pandemic, a global supply shock and the subsequent economic ramifications that we are still reeling from, along with various other world-changing events. Some of these events have shifted our habits, others have changed their perspectives. We haven’t changed our gear-related obsessions and general bike nerdery.
I have made a slight career-focused adjustment to working in a systems engineering role. Unfortunately, this means that I will necessarily be spending less time building wheels and performing wheel services. This doesn’t mean that Front Range Wheel Works is closing up shop. We still have our “Internal R&D” divison, hard at work testing gear and products. Hopefully, this transition will actually lead to an even more creative and informative purpose to this site.
Here is a quick taste of some of the products and DIY projects we have been testing:
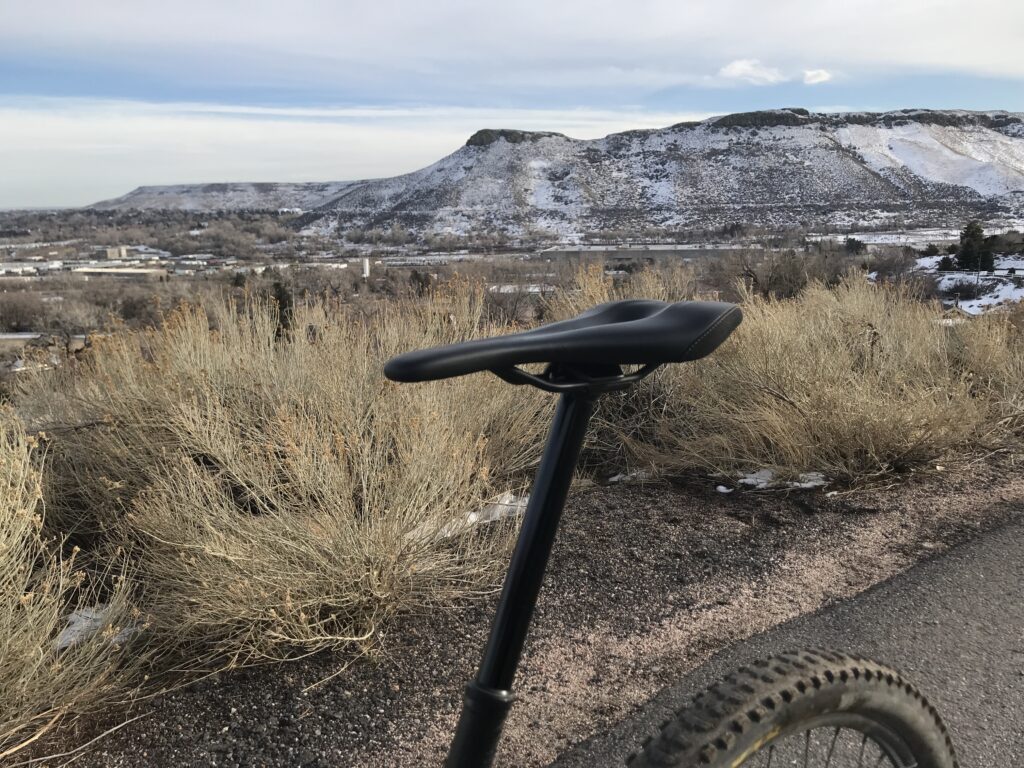
SQLabs 611 Active 2.1
Reserve 240 EXP Build
Tannus “Custom”
Rimpact Inserts
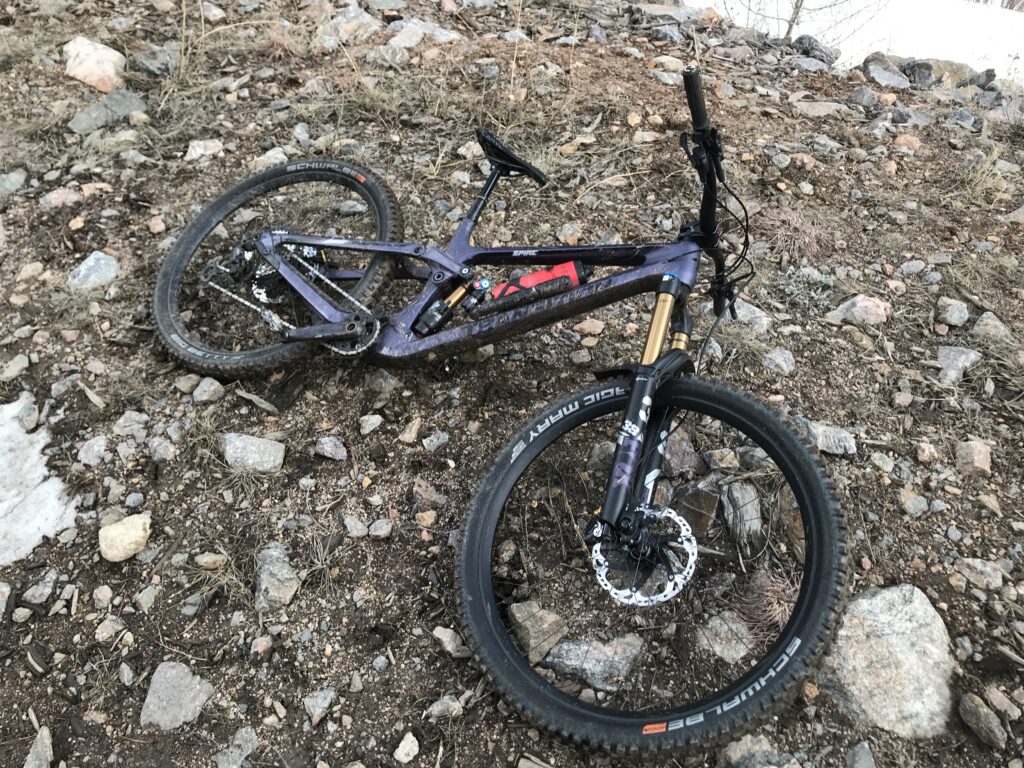
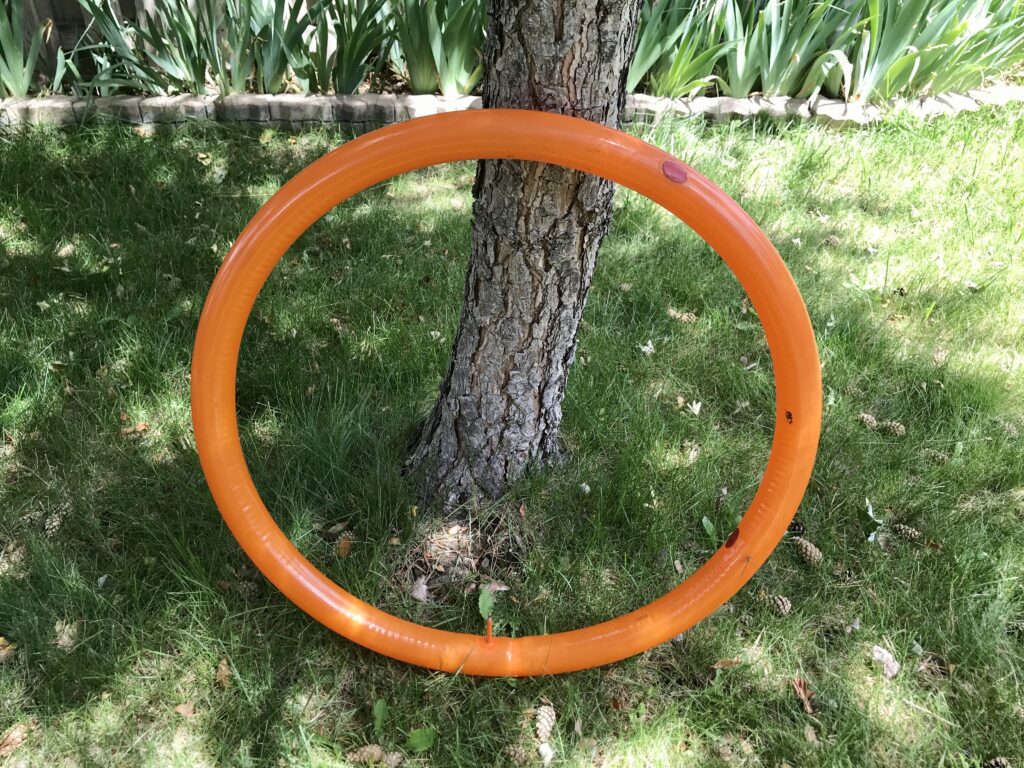
The Purple Beauty
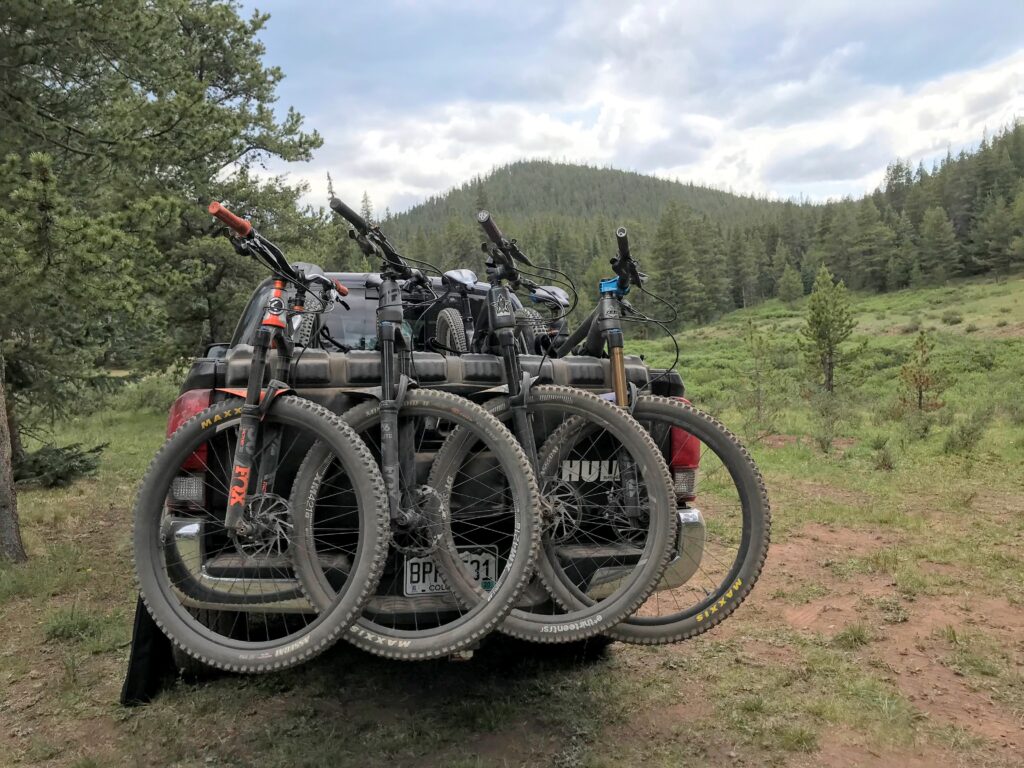
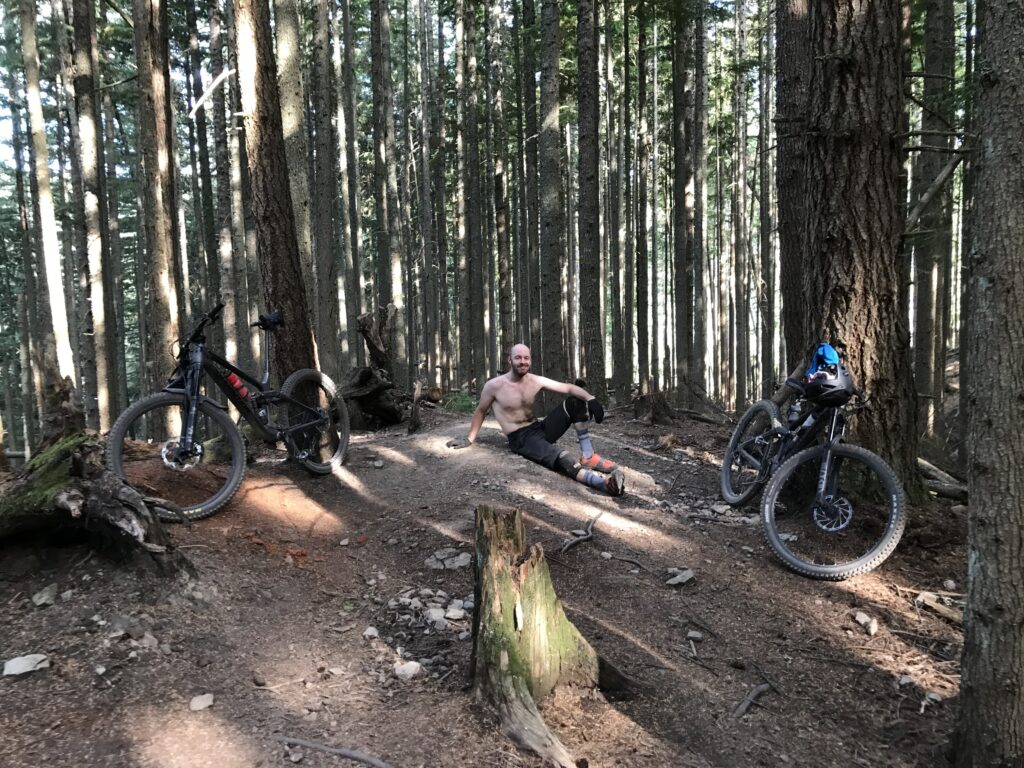
Forest Fun
The stories, reviews, and conclusion behind these images will be posted shortly. We promise.
The review is in, we have wasted our time so you don’t have to.
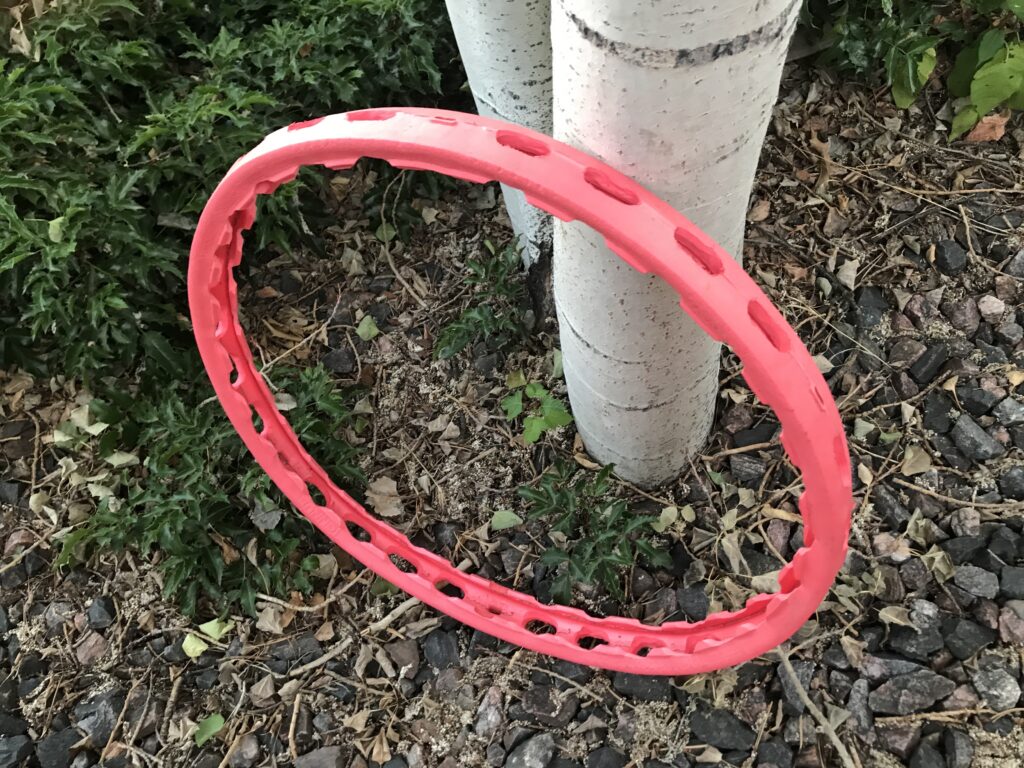
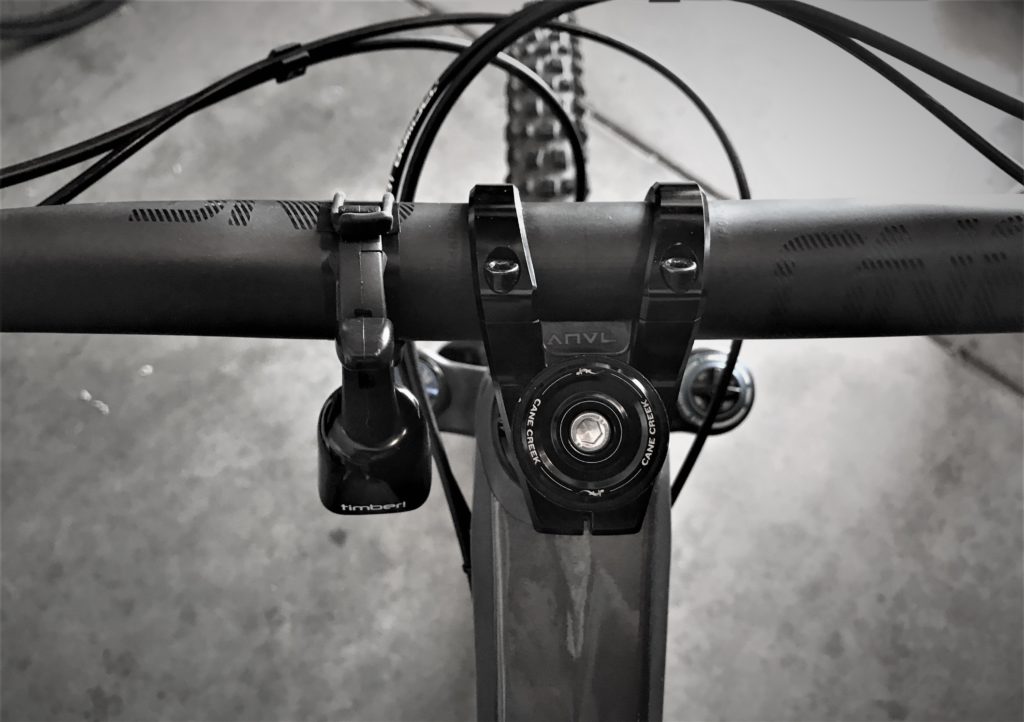
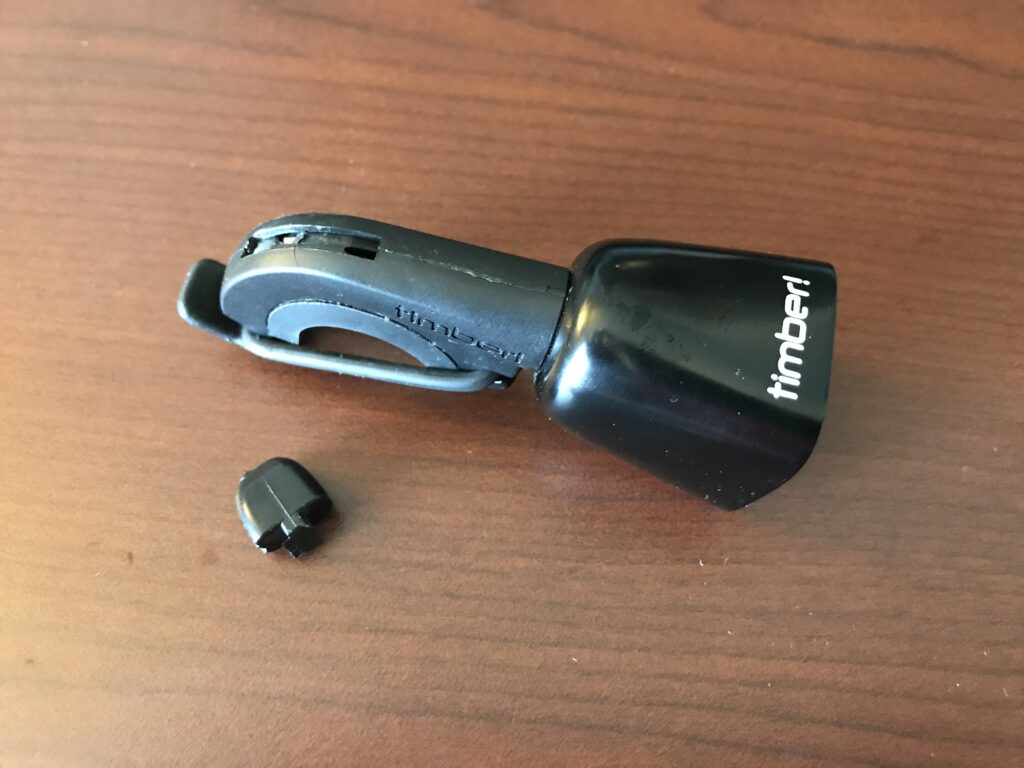
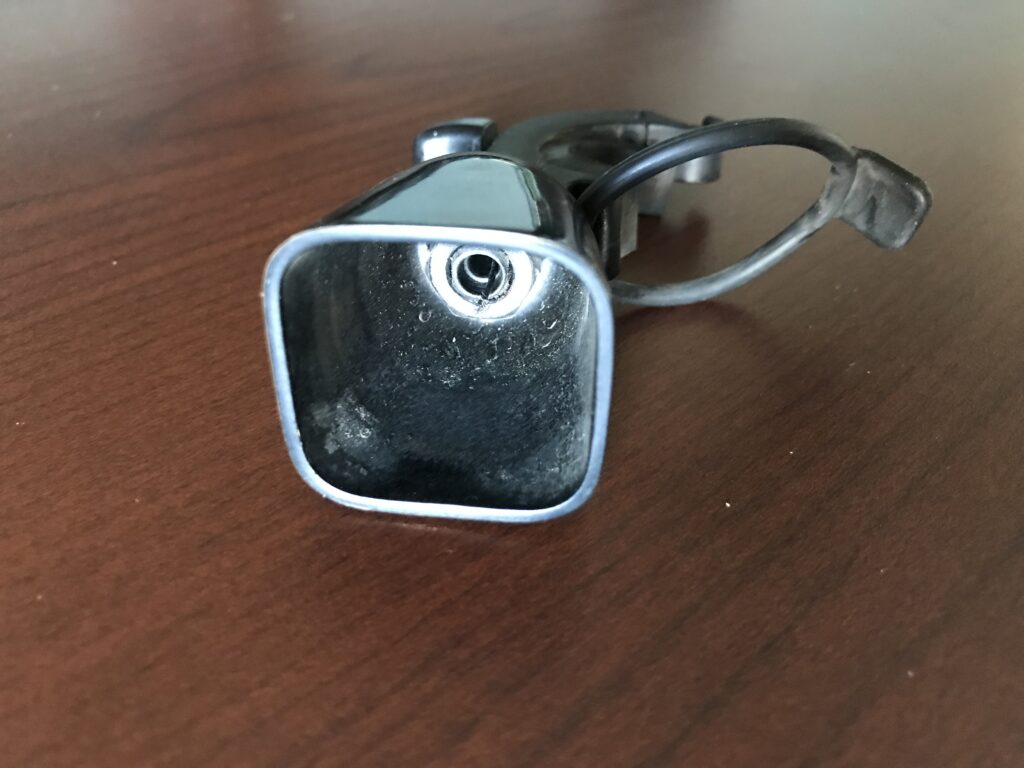
They call it a “Mountain Bike Bell”
And sure, it could be considered that as long as your mountain bikes are restricted to tarmac-smooth IMBA approved trails. After a few weeks of use ours self-destructed. Not once, but twice. Two different bells. Each failure occurred in not much more than a few weeks. Forget the debate of whether or not the annoying sound is worth it, this product is utter trash.
Problem 1: Its plastic
Problem 2: Its garbage
We can go on in detail about being “that guy” with the obnoxious bell, but we will save that for a different time. For now, just stop reading, step back and enjoy the silence. Have your 15 minutes back. Your welcome.
Read more about the wonderful world of Mountain Bike Bells at Timber!’s website.
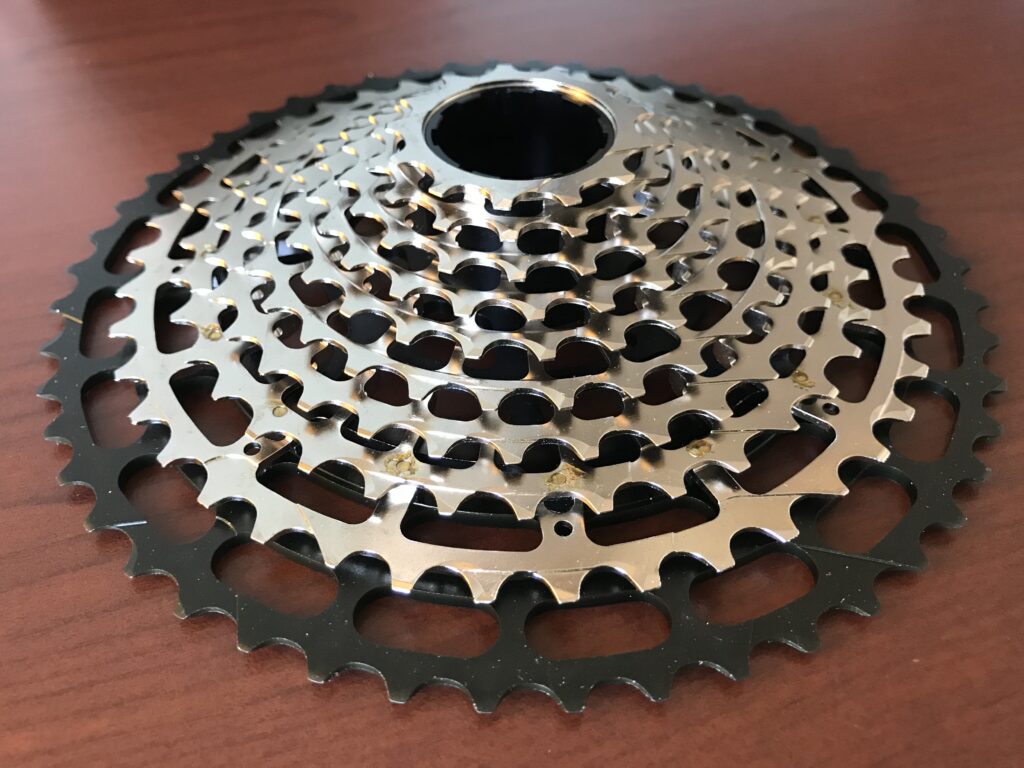
A relatively inexpensive alternative to Sram and Shimano?
Nope. Not even close. If you are sick of paying top dollar for those expensive 12 speed wear items but still want something light weight we don’t have any good news for you.
As far as cassettes are concerned, the mantra is cheap, light, durable – pick two. As far as SROAD cassettes are concerned you get none. Okay, maybe one. Durability-wise the 11 speed version that I still have mounted has held up… and still shifts like crap.
Did I mention I had to take a file to the 12 speed version to mount it?
Cheap vs. Inexpensive
I had high hopes for the SROAD mountain bike cassettes, but unfortunately, they fell flat. From the poorly designed teeth and shift ramps to the shoddy manufacturing, these cassettes are simply not worth your time.
The fact is, there’s a difference between cheap and inexpensive when it comes to mountain bike components. Cheap components are low-quality and poorly made, whereas inexpensive components offer great value for their price without compromising on performance or durability.
It’s easy to get caught up in the allure of cheap components, especially when you’re trying to save money. But the reality is that investing in quality components will ultimately save you more money in the long run, as they’ll last longer and require fewer repairs and replacements.
When it comes to mountain biking, the gear and components you choose can make all the difference in your performance and enjoyment on the trails. Don’t settle for cheap components that will only lead to frustration and disappointment.
Instead, do your research and invest in quality components that will enhance your riding experience and last for years to come. Trust me, your wallet and your bike will thank you.
Are you tube-curious? Has your enthusiasm for sealant-based solutions dried up?
Most people start out mountain biking with those butyl rubber relics pulling that essential duty of holding air in their tires. It doesn’t take long before puncture and pinch-flat related mechanicals have these users searching for something a bit more reliable.
With the right air pressures and tire casing thickness, a tubeless setup is just that. Reliable. Keeping the sealant topped up and performing the occasional “squeeze” air pressure test is all most riders will ever need to do. If tubeless is so reliable then why would anyone feel the need to go back to fragile tubes? Maybe it’s just some morbid curiosity or a sense of nostalgia for those simpler times, but I thought that this question needs to be revisited after testing these fancy new “Tubolito” plastic tubes.
One of my 29 “Plus” tubes sporting a number of patches
For anyone not in the know, “Tubolito” tubes are made of a special thermoplastic that is supposedly much lighter and more durable than the standard butyl rubber tubes. The true weight of these tubes is an astonishing 1/3 of that of a standard tube. If their claim of 2x the puncture resistance is true, this would be an amazing product, right? Too bad this “2x” claim appears to be worthless regardless of its validity.
Someone once said that bike tubes want to seek out and find ways to die. They are mortally opposed to holding air. I wouldn’t exactly disagree. “Two Times” the strength of something that approaches zero is still very close to zero.
Here’s another long-term review of the road version of this product
I really wanted this to work. I have a number of these very pricey tubes and have managed to puncture several of them over the past season of riding, all from pinch flats. I am 6’2″ and weigh 175 lbs. While I would say my riding preference leans towards steep, rocky and root-filled terrain, I make an effort to float over or move around obstacles when possible. I have obsessive tendencies when it comes to monitoring my tire pressures and have a decent sense of what pressures I can get away with depending on the terrain and speed. None of these factors appeared to help much when it comes to the dreaded “snake-bite” pinch flat that has plagued mountain bikers since air has filled their tires. Plastic tube or not, this will be the way your ride ends nine times out of ten when you hear the hiss of air escaping from your tire.
Beyond their durability, one of the most annoying aspects of these tubes is that they are slightly under-sized. You need to stretch the tube around the rim during installation. This makes the task of setting up the tire unnecessarily difficult and greatly increases the probability of pinching the tube between the tire and rim during installation unless you are very careful.
Making matters worse, I have found that the fatal flaw with the Tubolito tubes is that the proprietary patch kit is more or less worthless. For certain punctures the patches failed to stay in place and slowly (or not so slowly) began to leak air. I have reached out to Tubolito regarding this issue and am waiting on a response (see my message below).
After having two different patches fail to seal this pinch flat, I have given up
In conclusion, I currently would only recommend these tubes as a lightweight and compact emergency option. Tubeless will be here to stay for your every-day rides if you value reliability.
Reinforcing the patch with some glue seems to be the best last resort option to keep these tubes from being binned
A message to Tubolito support:
“The primary issue that I have found with your product is that once the tube has been pinched the hole in the tube is large enough that the patches do not hold. This is especially true for areas around the rim where you are most likely to pinch these tubes. It seems these areas do not distribute the pressure of the tire evenly and the small patches from your kit are displaced.
I have made
sure to follow the installation procedure for the patches precisely,
even going as far as applying pressure to the patch for an excess of 10
minutes. I doubt any normal user would go to this extreme.
I have both a regular and plus sized tube with multiple patches that I have needed to reinforce with glue as the patches will slowly separate from the tube over time and begin to leak. In the case of one tube I have seen dozens of small “weeping” holes that bleed air over time which I have addressed with a plasticizing glue for now, but it appears that the patches are ineffective for certain types of damage.”
6/6/20 — Tubolito support response:
thanks for approaching us. We are sorry you are experiencing some issues with our Flix-Kit.
We have been doing a lot of
tests with our Flix-Kit, including long term tests with heat exposure
etc. We do have very good results, however we also experienced that in
the practical use sometimes the patches do not perfectly
stick, as it is the case with you.
We have been working on improvements and most likely will be able to offer a new solution soon.
Best wishes from sunny Vienna,
Georg
2/21/20 Update: The initial response from Tubolito was prompt and we exchanged a few follow up messages regarding potential samples of the new patches but I have not heard anything back recently.
For a build quote or more information feel free to send us a message at the address above or visit our contact page.